Turn your Raspberry Pi into a remote and fully wireless iPhone log capture device.
With this guide, you can setup a brand new SD Card to turn your Pi into a remote log capture tool.
-
-
Get a nice new SD Card (Suggest 8GB to ensure you have space for log captures)
-
Follow the steps below
-
Power your Pi from a battery pack
-
Collect logs
-
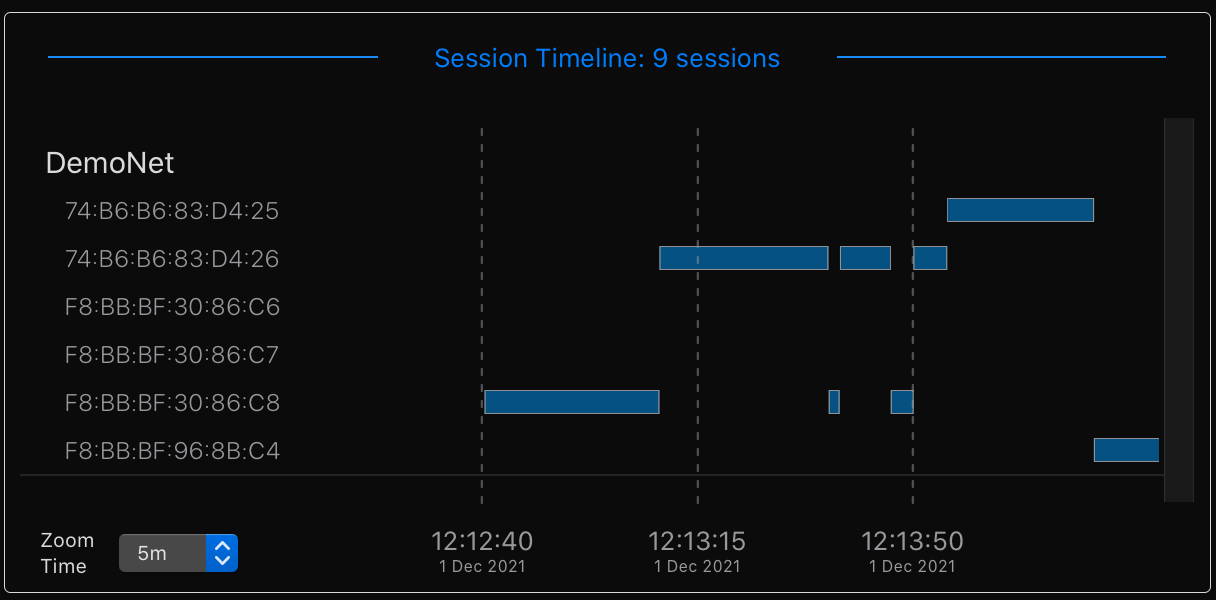
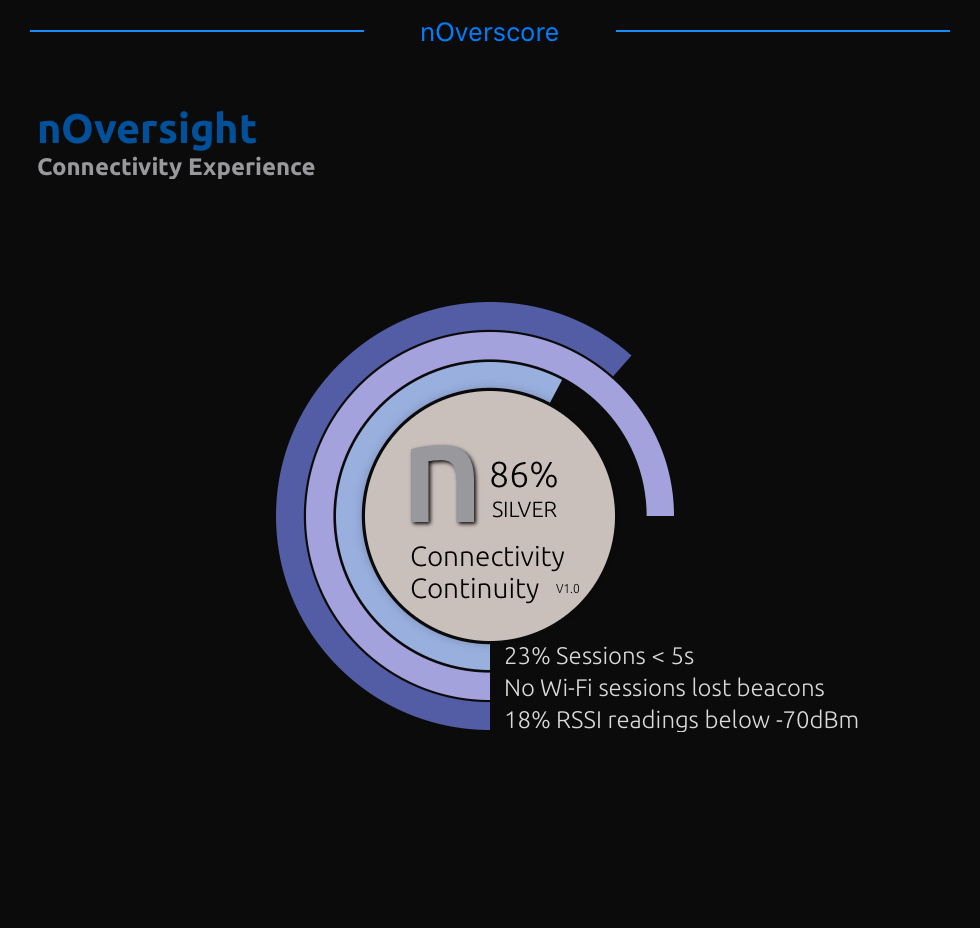
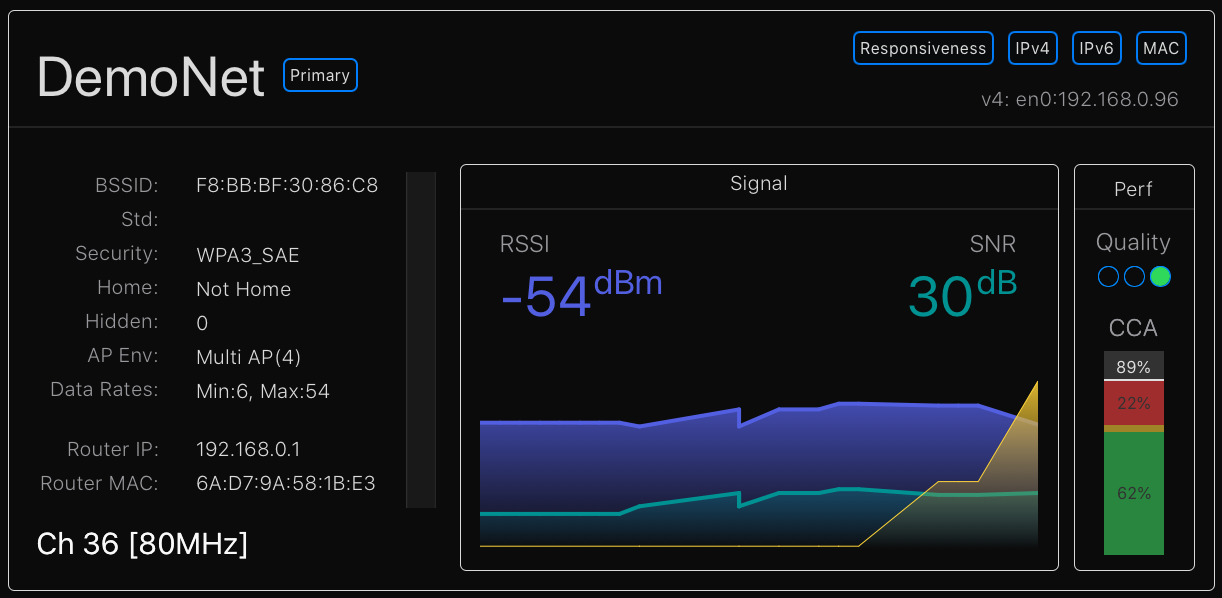
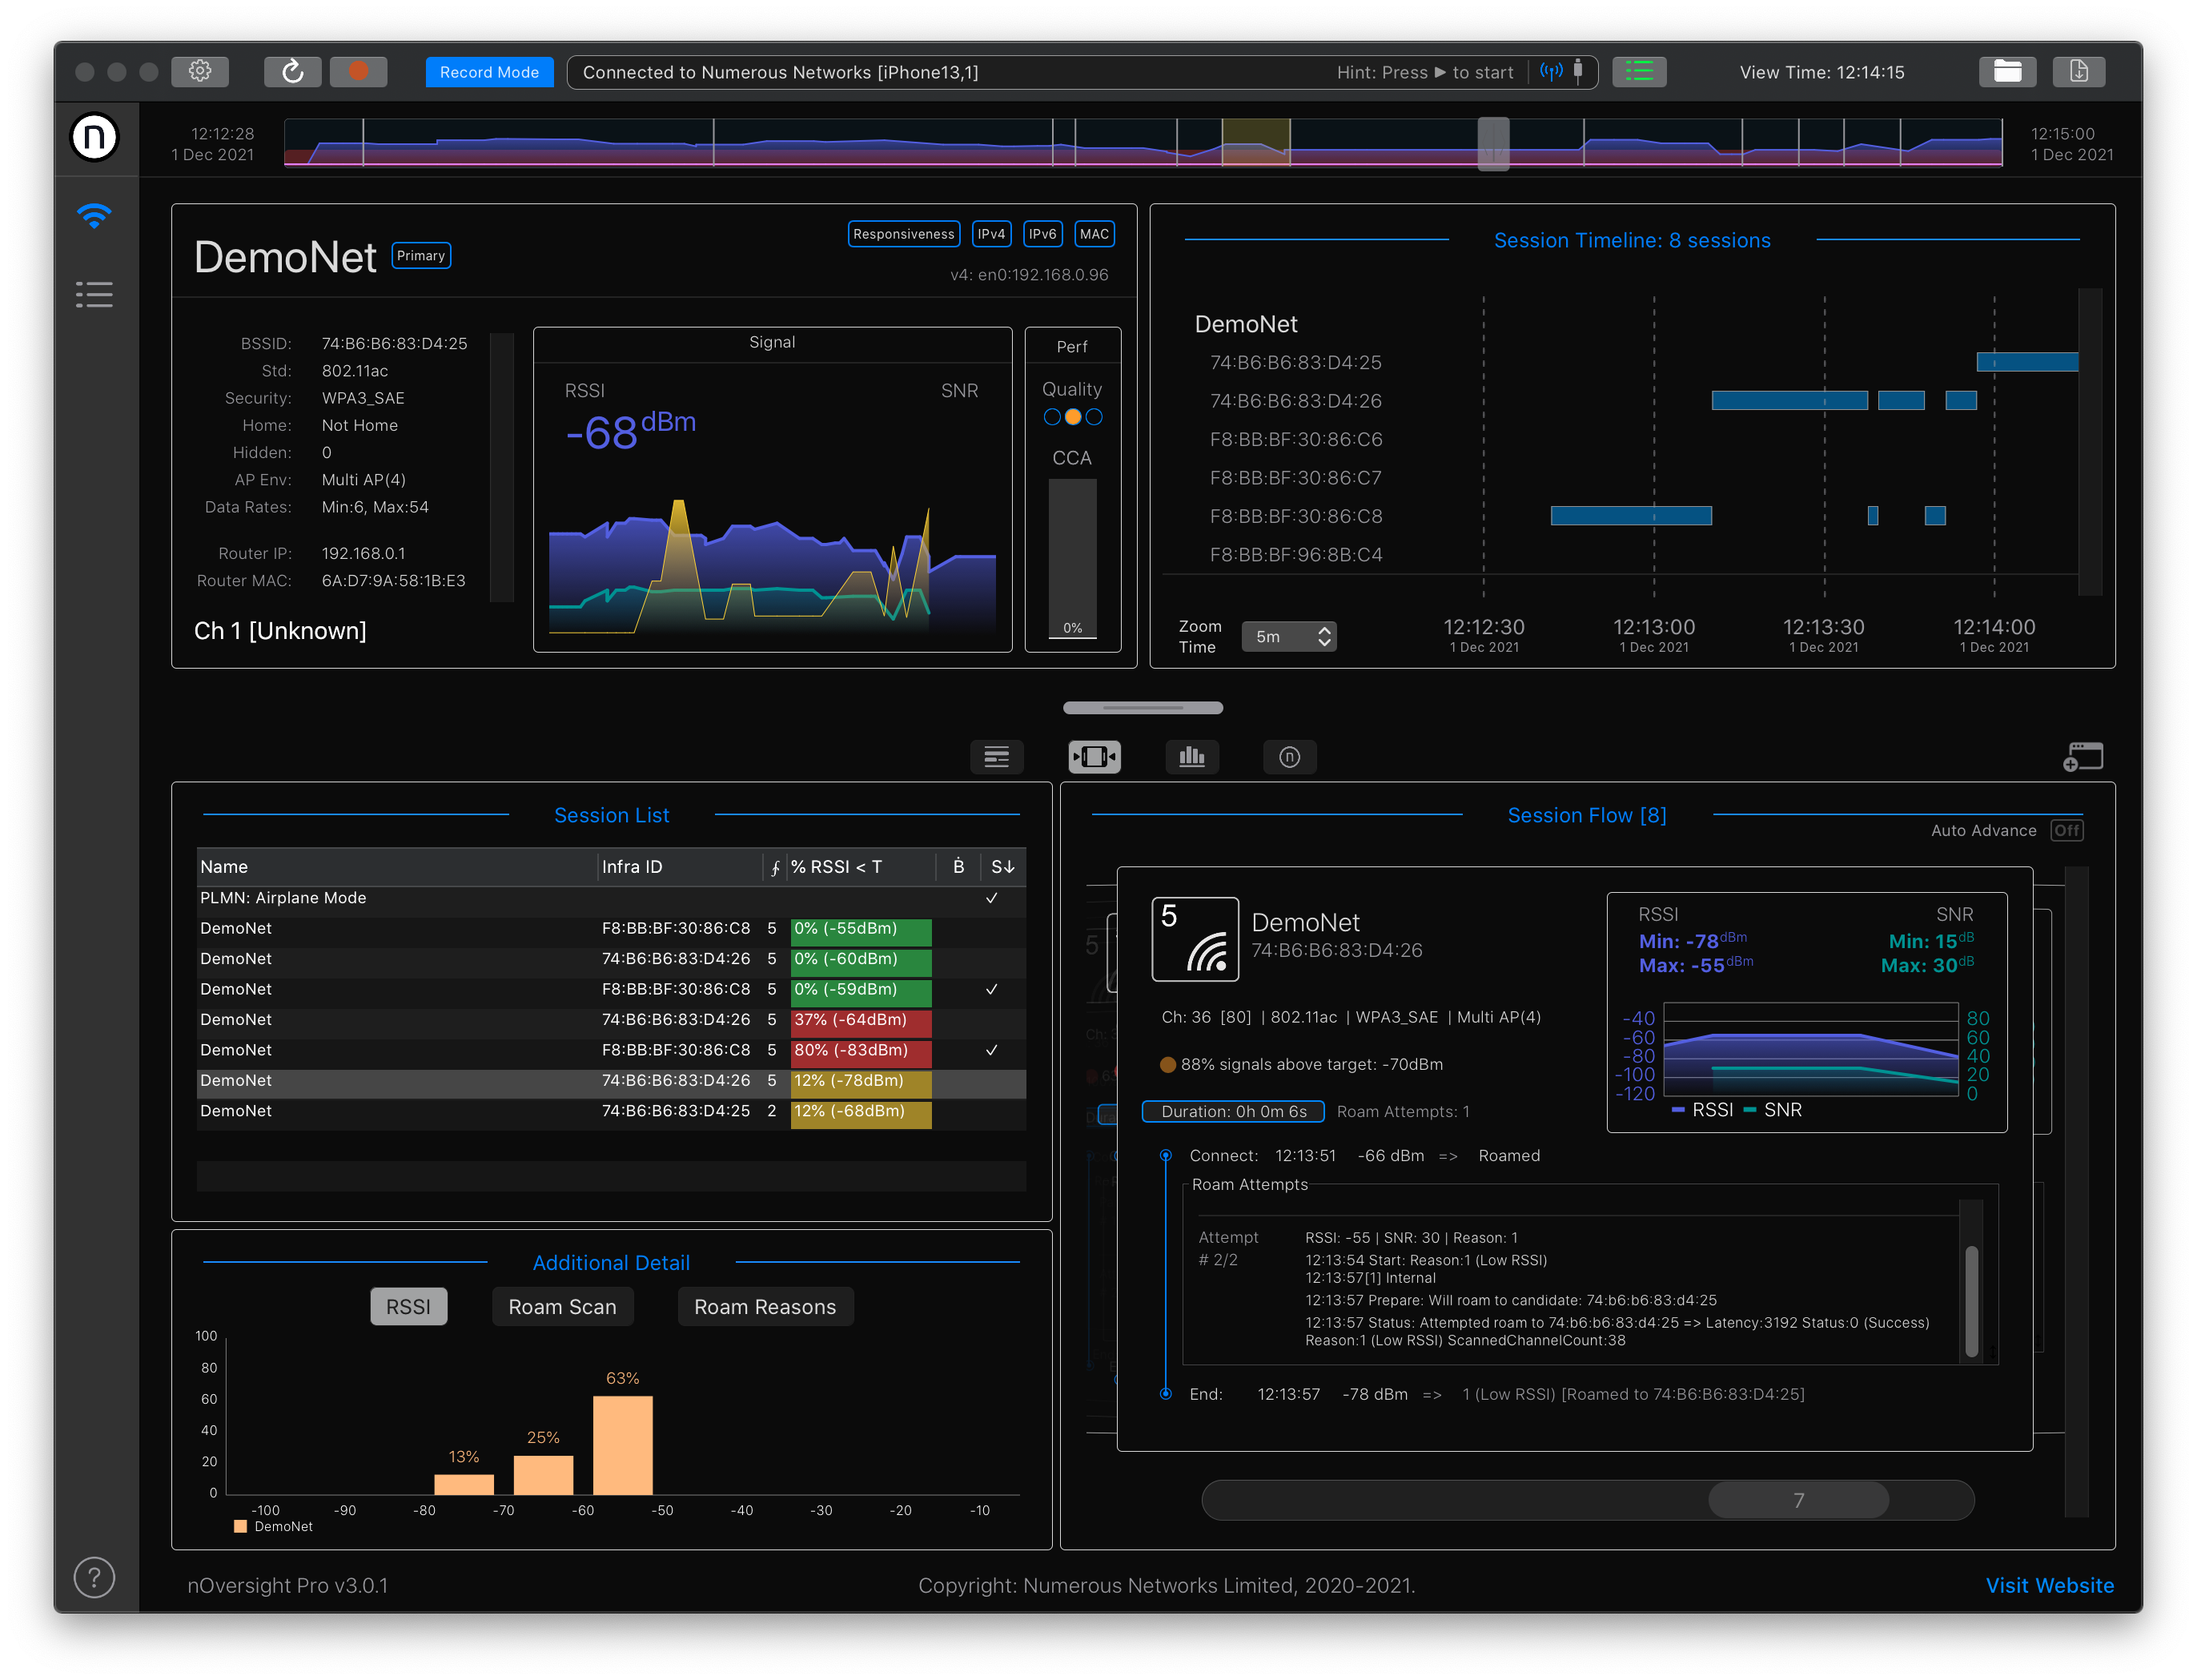
Insert the SD card into your Mac and load the logs into nOversight
-
An easy way to start fresh is download the Raspberry pi imager from raspberrypi.org/software/
You can follow the tutorial in the video if you need help. Be sure to setup your device for ssh access and give it a name (such as "mydevice.local") and a password.
Once the SD card is flashed, access it via SSH
ssh pi@[name_of_pi.local]Once connected to your Pi, get the nMirror script and run it as below
git clone https://github.com/bentumbler/nMirror_iOS.git
cd nMirror_iOS
chmod +x nMirror.sh
./nmirror.sh
You will be asked some things along the way so just answer them as needed.
Important: Once everything is installed you must initially connect your device via USB first and get a log stream coming in.
/usr/local/bin/idevice_id
/usr/local/bin/idevicesyslog -u [ID from previous command]
After that, you should be able to connect to the device via the bluetooth PAN.
Re-run the idevice_id command and if working, you will see the ID of the connected device with (network) at the end. If not, try rebooting the Pi and the device and then reconnect the PAN and try again.
It normally works but has sometimes taken a while to register - we think it is something to do with getting trust for the PI on the device but haven't quite sussed it yet.
Once it works, use the -n switch to access a networked log stream.
/usr/local/bin/idevicesyslog -u [ID from previous command] -nAnd to save the logs to a file
/usr/local/bin/idevicesyslog -u [ID from previous command] -n > mylog.log
